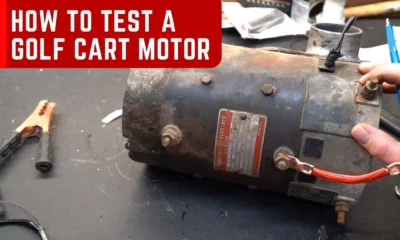
Step-By-Step Guide On How To Test A Golf Cart Motor With A Multimeter
A golf cart motor is an essential component of any golf cart, and it’s important to make sure it is functioning correctly.
Testing it using a multimeter is a simple and effective way to check the motor’s performance.
This step-by-step guide will walk you through the process of testing a golf cart motor with a multimeter. With the help of this guide, you’ll be able to check the resistance, voltage, and current of the motor to make sure your golf cart is running smoothly.
You’ll also learn how to troubleshoot any issues you may encounter during the testing process.
So, if you’re ready to get started, then let’s dive in and learn how to test a golf cart motor using a multimeter.
What is a Multimeter?
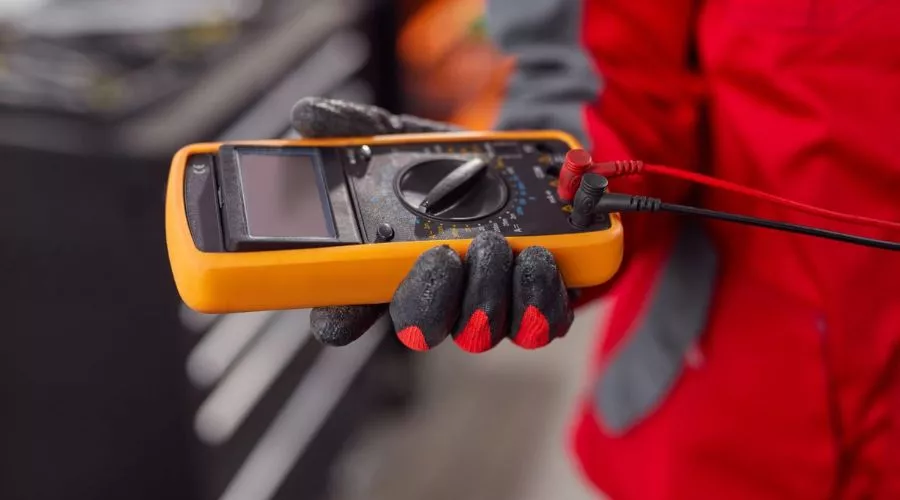
A multimeter is an electric measuring device used to test electrical circuits. This device is useful for a variety of different applications and can be used by anyone interested in electronics.
A multimeter includes the following 3 parts: A current-measuring device, a voltage-measuring device, and a resistance-measuring device.
This device can be plugged into an outlet, and you can use it to measure numerous electrical parameters such as voltage, resistance, current, and frequency.
Multimeters can be used to test a variety of different components and systems, including motors, fuses, and electrical wires.
While there are many different types and models of multimeters available, they all have the same basic functionality.
This functionality can be used to test a golf cart motor and make sure it is working correctly.
What You Need to Test a Golf Cart Motor
How To Test A Golf Cart Motor With A Multimeter – Step By Step Instructions

Here is a step-by-step guide to testing a golf cart motor using a multimeter: – First, make sure the motor is unplugged before you begin testing it. – Next, take off the motor’s cover and locate the wires that connect to it. – Now, connect the multimeter to the wires, and note the readings on the device. – Test the voltage, resistance, and current of the motor, and make sure it falls in the appropriate range. – If everything is working correctly, you can reassemble the motor and continue using your cart.
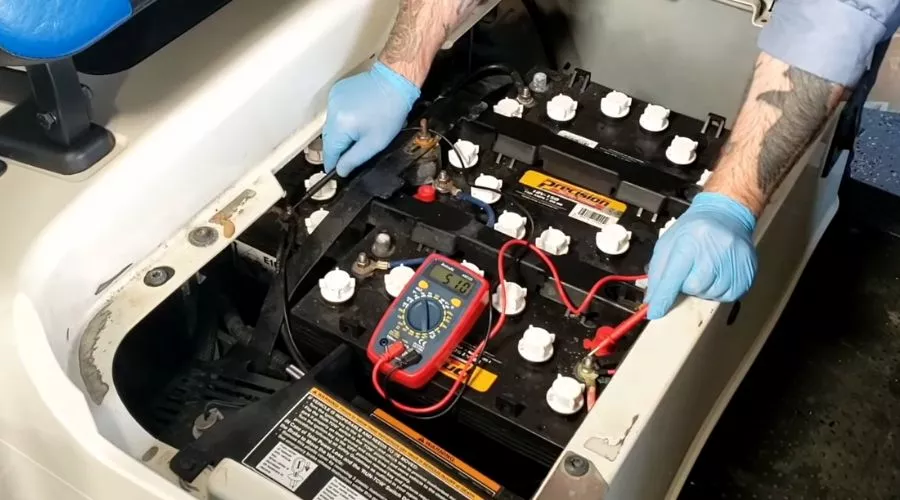
Connect The Multimeter
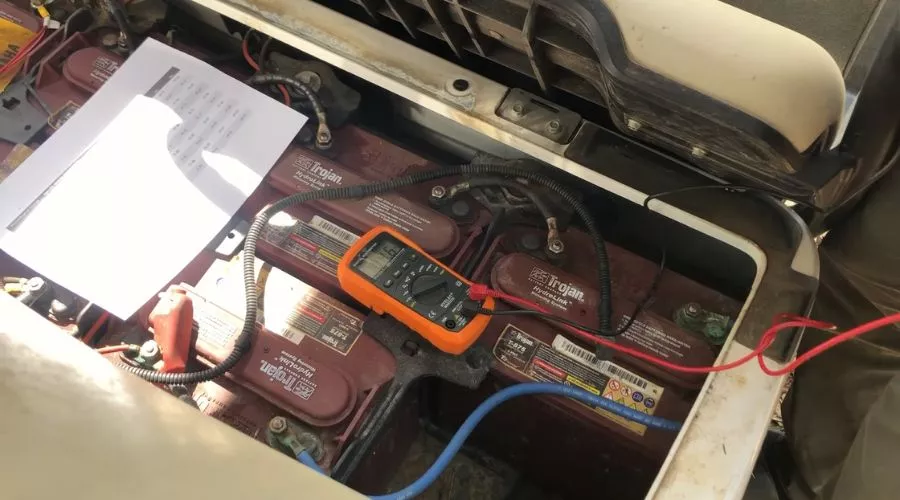
Now that you know what a multimeter is and what you need to test a golf cart motor, it’s time to connect the device to the motor.
To start, you’ll want to remove the cover from the motor, and then locate the wires coming out of the device.
Next, connect the red multimeter lead to the positive wire and the black multimeter lead to the negative wire.
This way, the multimeter will read the voltage from the circuit, and you’ll be able to test the motor’s performance.
Once you’ve connected the multimeter to the wires, you can start testing the golf cart motor.
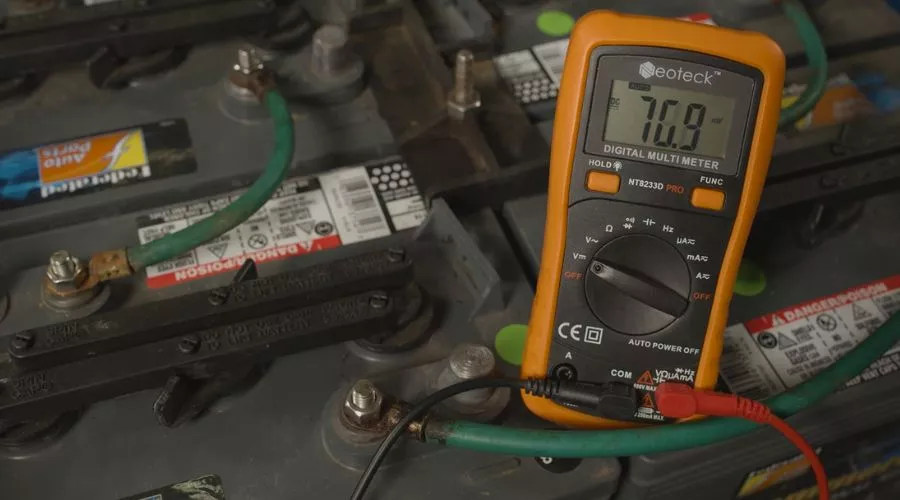
Test The Voltage
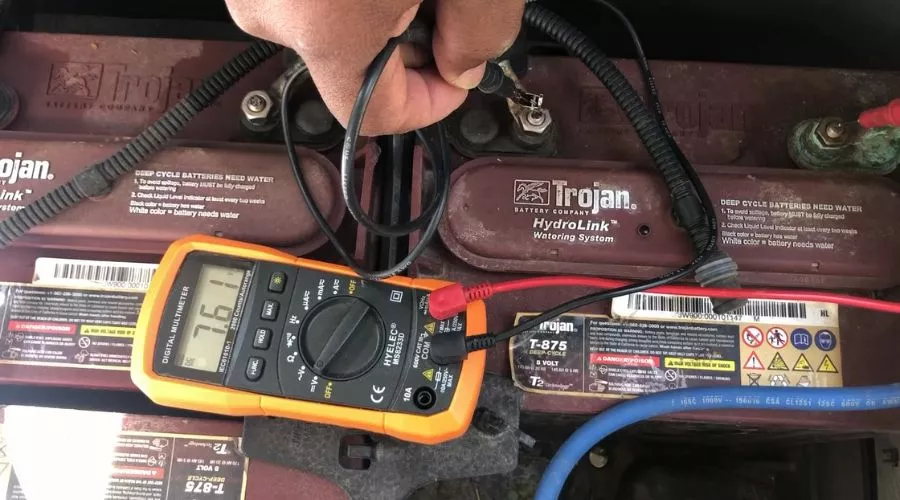
The first thing you’ll want to test is the voltage of the motor. This will tell you if the power supply is working correctly and if the motor is receiving the correct amount of electricity.
To do this, you’ll need to select the voltage setting on the multimeter and then plug the device into the circuit. Once you’ve plugged the multimeter into the circuit, you’ll see the voltage reading on the device. If the reading is above 0.00, then the voltage is above 0.00. If it is below 0.00, then the voltage is below 0.00. If the reading is around 0.00, then the voltage is about 0.00.
Test The Resistance
The next thing you’ll want to test is the resistance of the motor. This reading will tell you if there is any defective wiring or other issues within the circuit.
To do this, you’ll need to select the resistance setting on the multimeter and then plug the device into the circuit. Once you’ve plugged the multimeter into the circuit, you’ll see the resistance reading on the device.
If the reading is above 0.00, then the resistance is above 0.00. If it is below 0.00, then the resistance is below 0.00. If the reading is around 0.00, then the resistance is about 0.00.
If the reading is around 0.00, then there is no serious issue with the wiring. However, if the reading is above 0.00, then there is an issue with the wiring.
Test The Current
The next thing you’ll want to test is the current of the motor. This reading will tell you if there is any excessive heating within the motor or if there is an issue with the motor’s construction.
To do this, you’ll need to select the current setting on the multimeter and then plug the device into the circuit. Once you’ve plugged the multimeter into the circuit, you’ll see the current reading on the device.
If the reading is above 0.00, then the current is above 0.00. If it is below 0.00, then the current is below 0.00. If the reading is around 0.00, then the current is about 0.00.
If the current reading is around 0.00, then the motor is working correctly. However, if the reading is above 0.00, then there is an issue with the motor.
Troubleshooting Issues
If the voltage reading is below 0.00, then there might be an issue with the circuit. You may want to check the circuit to make sure it is working correctly and that there is not a loose wiring issue.
If the current reading is above 0.00, then there may be an issue with the motor’s wiring. You may want to take a closer look at the wiring and make sure there are no loose connections.
If the resistance reading is above 0.00, then there might be an issue with the wiring. You may want to take a closer look at the wiring and make sure there are no loose connections.
If the reading is below 0.00 or around 0.00, then there is no serious issue with the wiring.
Conclusion
Now that you know how to test a golf cart motor, you can make sure your golf cart is running smoothly. And, if you ever notice anything out of the ordinary, you can use this guide to test the motor and troubleshoot any issues you may encounter.
FAQs
How do I know if my electric golf cart motor is bad?
If you think that your electric golf cart motor may be bad, there are a few ways to check.
The first is to check the voltage output of the motor. If you measure the voltage output of the motor and find it is lower than what is listed on the motor’s identification label, then this could be a sign that the motor may be bad.
The second way to check is to check for any signs of physical damage. If there is physical damage to the motor like cracked or charred insulation or exposed wiring, then this could be a sign that the motor may be bad.
The third way to check is to listen for any strange noises coming from the motor. If you hear any strange noises like grinding, whining, or buzzing, then this could be a sign that the motor may be bad.
The fourth way to check is to inspect for any signs of oil leakage. If you see any signs of oil leakage around the motor then this could be a sign that the motor may be bad.
Finally, if you have access to a multimeter and you know how to use it, you can use it to check for continuity between the two terminals of the motor. If there is no continuity then this could be a sign that the motor may be bad.
If you find any of these signs, then it is likely that your electric golf cart motor is bad and needs to be replaced.
What are the 4 terminals on a golf cart motor?
The first terminal is the positive battery terminal. This is where the positive cable from the battery connects to the motor. This supplies the power to the motor and allows it to run.
The second terminal is the ground terminal. This is connected to the engine block and provides a ground path for the electrical system in the golf cart. Without this connection, the motor would not be able to run.
The third terminal is the field terminal. This terminal supplies power to the field coils inside the motor. These coils create a magnetic field that interacts with the armature coils to create torque and turn the motor.
Finally, the fourth terminal is the armature terminal. This terminal supplies power to the armature coils which interact with the field coils to create torque and turn the motor.