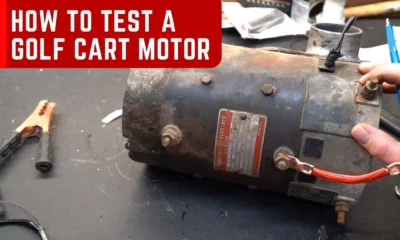
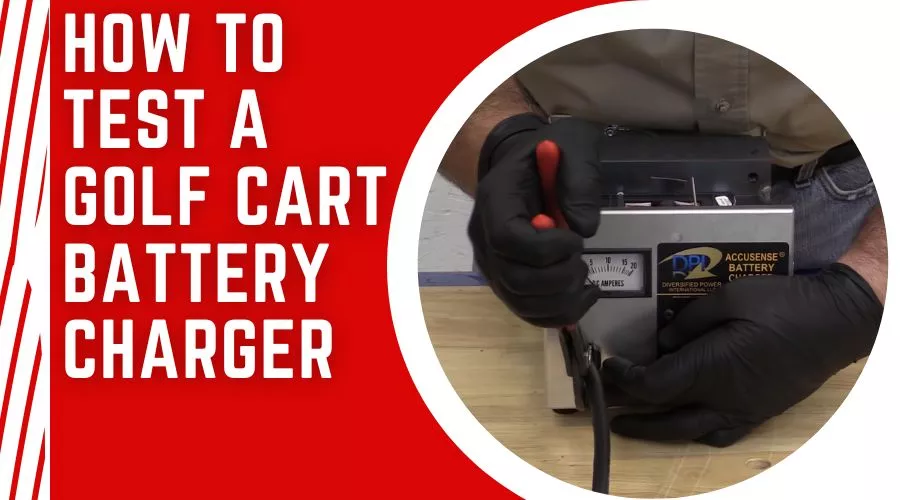
How To Test A Golf Cart Battery Charger – Step-By-Step Guide
Golf cart battery chargers are essential pieces of equipment for keeping your golf cart running efficiently. For this reason, it is crucial to regularly test your golf cart battery charger to make sure it is in proper working condition.
Testing your golf cart battery charger can seem intimidating at first, but it doesn’t have to be.
By following this step by step guide, you’ll be able to easily test your golf cart battery charger in no time.
I’ll cover everything from gathering the necessary tools to connecting the charger and understanding what the results mean.
How To Test A Golf Cart Battery Charger Like A Pro
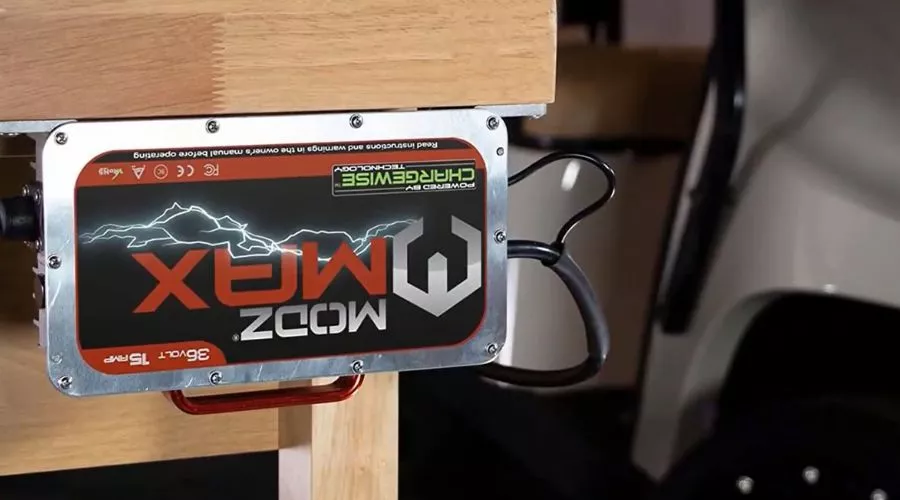
Gather Necessary Tools
Before you get started, make sure you have all of the necessary tools and accessories.
Understand Your Golf Cart Battery Charger
Before you can begin testing your battery charger, it is important to understand how it works and what to look for when testing it.
Golf cart battery chargers are used to keep the batteries in your golf cart charged. This ensures that your cart always has enough energy to operate efficiently.
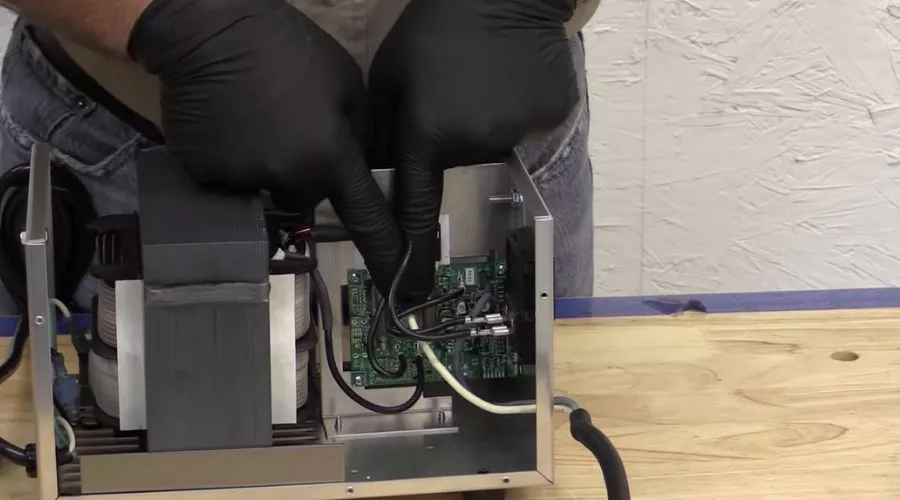
There are several different types of battery chargers, but they all operate on the same principle. A golf cart battery charger is made up of three components: a voltage transformer, a capacitor, and a charging regulator.
The voltage transformer changes the voltage from your wall outlet to the voltage required by the battery. By increasing the voltage, the capacitor allows a higher current to be discharged into the battery.
The charging regulator keeps the current flowing into the battery consistently and at the correct voltage. If your battery charger does not have these three components, it is not safe to use in your golf cart.
If your battery charger is not working as it should be, you will notice that your golf cart doesn’t drive as far or as efficiently as normal.
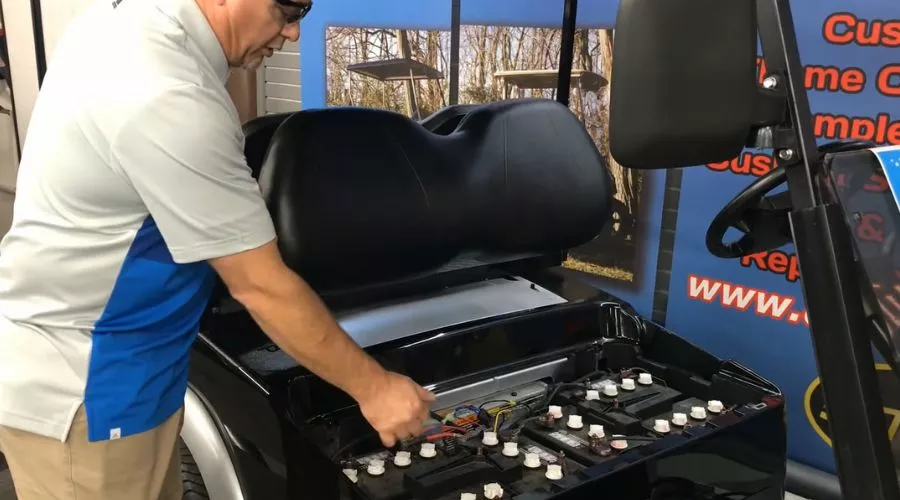
Connect The Charger
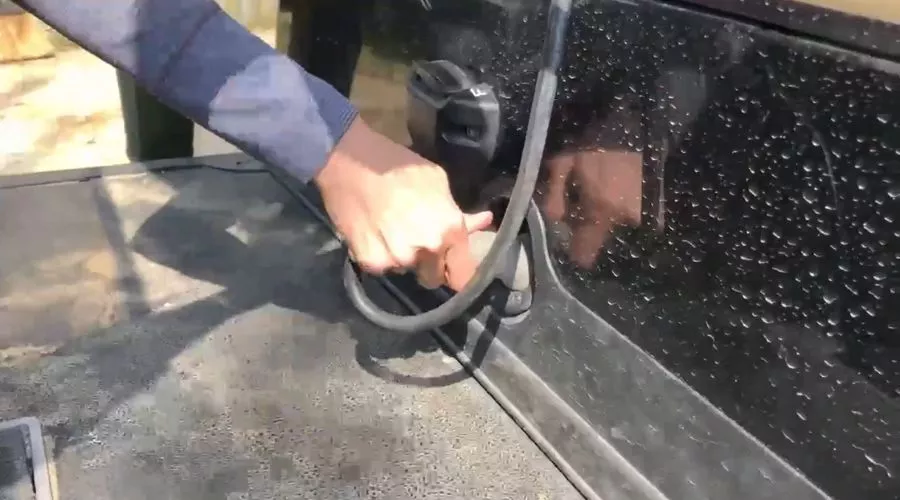
Before testing the charger, make sure to connect it to the batteries in your golf cart. This is the only way to get an accurate reading. There are two main types of chargers in golf carts: on-board and remote.
Each type of charger has a specific method for connecting them to the batteries. If you aren’t sure how to do this, consult your owner’s manual.
To connect an onboard charger, locate the junction where the batteries are connected. Connect the red charger cord to the red battery terminal and the black charger cord to the black battery terminal. Repeat this process with the other battery.
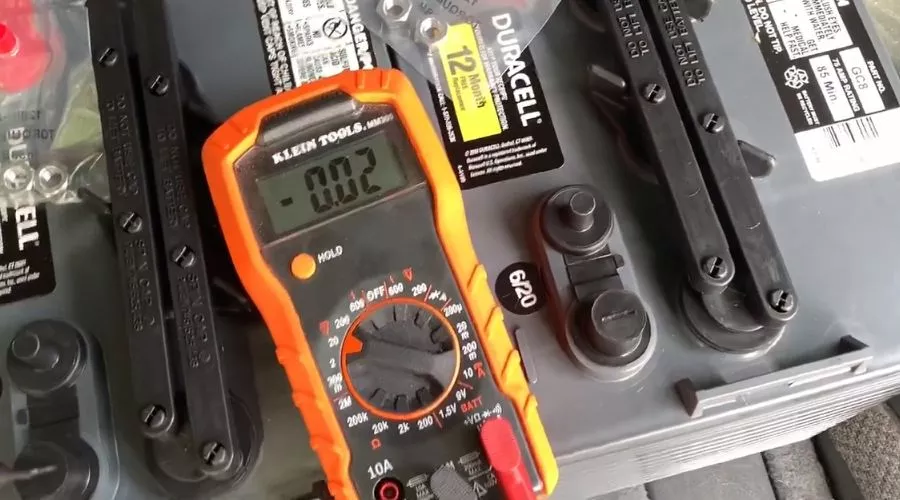
Test The Charger
It’s time to see if your charger is working properly. To do this, you will need your multimeter and a golf cart battery. First, set your multimeter to the 10-volt setting.
Next, attach the probes of the multimeter to the terminals on the battery. Once the probes are attached, you will see one of the readings on the multimeter change. If the voltage reading doesn’t change, your charger is not working properly.
If the voltage reading is too low, this means that your charger is working as intended. If the voltage reading is too high, this means your charger isn’t working as intended and needs to be replaced. It is important to remember that these readings are only a guide.
Every battery will have different readings depending on its age, condition, etc. But this is a great way to see if your battery charger is working properly.
Interpret The Results
If the voltage reading is too low, this means that your battery is not being properly charged by your golf cart battery charger. This may be due to the charger being broken or the battery terminal needing cleaning.
If the voltage reading is too high, this means that the charger is putting out too much voltage and is trying to overcharge the batteries. This may be due to the charger being broken or the charger is connected to a loose or corroded battery terminal.
If the voltage reading is normal, this means that the charger is putting out the correct voltage for the battery and is properly charging it. It is important to remember that even if your charger is working properly, your batteries may still need to be replaced.
Knowing When to Replace the Battery Charger

Even after testing your charger and uncovering the results, you may still need to replace the battery charger. The best way to know if your charger needs to be replaced is to keep an eye on the voltage readings.
If the voltage readings begin to drop below the acceptable range, it may be time to get a new charger. If you notice that one of the terminals on your batteries is corroded or the connections are loose, it may be time to get a new charger.
If your charger doesn’t fit the golf cart battery you have, it may be time to get a new charger. One of the most important factors in knowing when to replace the battery charger is how often you use your golf cart. If you use your golf cart frequently, you will need to replace the battery charger more often.
Maintenance Tips for Your Battery Charger
Make sure to clean the terminals on your batteries regularly. This will help to remove any corrosion and make sure the charger is working properly. It is recommended to clean the battery terminals with baking soda and water.
Make sure to regularly inspect your charger for any signs of damage or corrosion. If you notice anything out of the ordinary, it may be time to replace the charger.
Make sure to keep your charger in a dry place. Moisture can cause corrosion and can greatly shorten the life of your charger.
Troubleshooting Tips
If you discover that your charger is broken, you may need to clean the terminals on your batteries. If the terminals are corroded, the charger won’t be able to transfer electricity properly, and the batteries won’t be charged.
If your charger is broken, it is best to get it replaced as soon as possible. This will prevent damage to the batteries and will keep your golf cart in good working order. It is important to test your battery charger regularly to make sure it is in proper working condition.
Not only will this ensure that your batteries are charged, but it will also save you money in the long run by preventing damage.
FAQs
How do you know if a golf cart charger is bad?
If you suspect that your golf cart charger is bad, there are a few things you can check to confirm.
First, if your charger is plugged in and the charging light isn’t turning on, that is a sure sign that your charger is not working properly.
Second, if your charger is plugged in but you don’t hear any sound coming from it, then that could also be a sign that your charger is bad.
Third, if your charger is plugged in and the charging light is on, but the battery isn’t charging, then that could be another indication that your charger is bad.
Fourth, if the charger makes a buzzing or humming sound while it’s plugged in, then there could be a problem with the internal components of the charger.
Finally, if the charger is plugged in and nothing happens at all, then it could be a sign of a bad charger.
To make sure your charger is working properly, it’s always best to take it to a professional for an inspection. They can test it and let you know if anything needs to be repaired or replaced.
How do I know if my battery charger is working?
It’s important to make sure that your battery charger is working properly in order to make sure that your battery is charging correctly. Here are a few ways to tell if your battery charger is working:
Check the power source. Make sure that the power source you’re using is connected properly and that it’s providing enough power to your charger. If the power source is inadequate, your charger won’t be able to do its job.
Check the voltage output. You can use a multimeter to measure the voltage output of the charger. If the output isn’t within the range specified by the manufacturer, your charger may not be working properly.
Check the amperage output. You can use a multimeter to measure the amperage output of the charger as well. If the amperage is too low, it may indicate that your charger isn’t working properly.
Look for signs of damage. If you notice any signs of damage on your chargers, such as frayed wires or a cracked case, it could mean that your charger isn’t working properly.
Listen for any strange noises coming from the charger. If you hear any strange noises coming from your charger, such as buzzing or humming, it could mean that something is wrong with it and it may not be working properly.
If you follow these steps and still aren’t sure if your battery charger is working, you should take it to a professional to have it checked out. They’ll be able to diagnose any issues with your battery charger and help you get it back in working order.
How do you test a golf cart charge?
Testing a golf cart charge is a relatively simple process, but it is important to be thorough in order to ensure your golf cart is running properly. To start, make sure the golf cart is turned off and unplugged from the charger. Then, use a multimeter to measure the voltage of the battery pack. The voltage should be between 36 and 42 volts for a standard 36-volt golf cart. If the voltage is lower than 36 volts or higher than 42 volts, then it is likely that the battery pack is not charging correctly and needs to be replaced.
Next, you’ll want to measure the individual cell voltages of the battery pack. This can be done with the same multimeter you used for the battery pack voltage. Each cell should measure between 6 and 6.4 volts. If any of the cells measure outside of this range, then the battery pack should be replaced.
Finally, you’ll want to check the charger itself. Make sure that it is plugged into a grounded outlet and that it is set to the correct voltage for your golf cart (36 volts for a standard 36-volt cart). Once it is plugged in, use a multimeter to measure the output of the charger. It should measure between 41 and 43 volts. If it is lower than 41 volts or higher than 43 volts, then the charger needs to be replaced.
Testing your golf cart charge is an important step in keeping your cart running properly. Make sure to follow these steps carefully to ensure that your golf cart is safe and efficient.