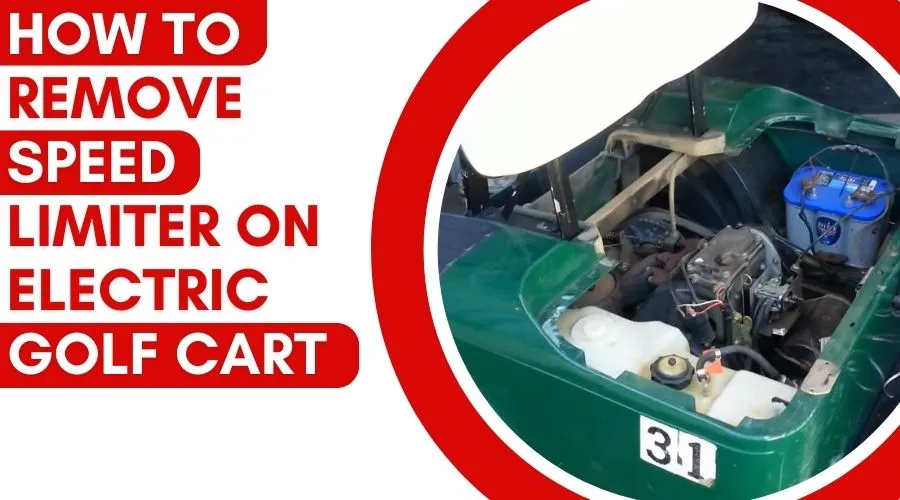
How To Remove Speed Limiter On Electric Golf Cart: A Step-By-Step Guide
If you’ve ever been golfing and wished you could go a little faster in your electric golf cart, then this guide is for you.
Removing the speed limiter on your electric golf cart is a relatively simple process that can be done in just a few steps.
This step-by-step guide will walk you through the process of removing the speed limiter on your electric golf cart, so you can experience a smoother and faster ride.
With these easy-to-follow instructions, you’ll be able to remove the speed limiter and get your golf cart moving faster in no time.
So, if you’re ready to get started, let’s jump right into the guide on how to remove the speed limiter on an electric golf cart.
What is a Speed Limiter and Why Remove it?
A speed limiter is a device that is integrated into the speed control system of your electric golf cart.
This device has a maximum speed that it allows your electric golf cart to go.
The speed limiter is designed to keep your golf cart from exceeding a certain speed, and it does this by overriding the speed control system.
The purpose of the speed limiter is to keep you and other golfers safe on the course. However, for some golfers, the speed limiter is an inconvenience.
If you’re one of those people, removing the speed limiter is the best option for you.
When you remove the speed limiter from your golf cart, you’ll be able to drive your cart at a speed of 15 miles per hour.
This will allow you to go one speed faster than you would with the speed limiter in place.
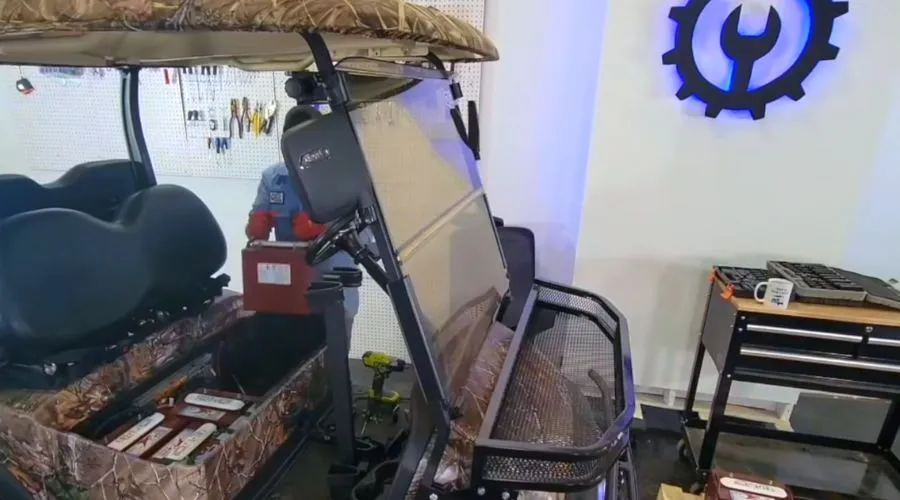
Preparing to Remove the Speed Limiter
Before you can remove the speed limiter from your golf cart, you need to prepare the area around the golf cart to make sure everything is safe.
The first thing you’ll want to do is make sure that everyone is in the cart and out of harm’s way.
Next, you want to make sure that you have all the tools you’ll need for the job.
A socket wrench, pliers, and a screwdriver are all recommended for this job.
Next, you’ll want to park the golf cart in a safe spot.
You don’t want to remove the speed limiter while the cart is on the move, so you’ll want to park it somewhere where it won’t be in the way of other golf carts or people.
After you’ve parked your cart in a safe spot, you’re ready to remove the speed limiter.
How To Remove Speed Limiter On Electric Golf Cart – Stepwise
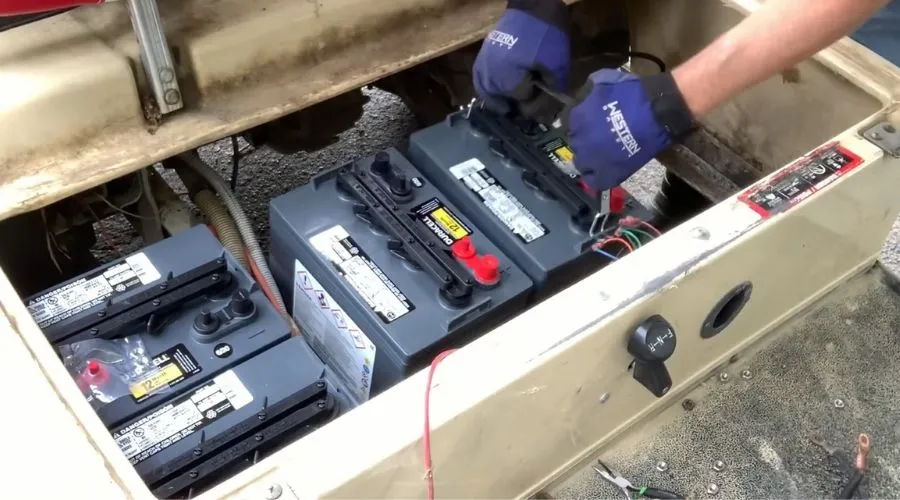
Disconnect the Battery
Before you can remove the speed limiter, you’ll need to disconnect the battery.
Disconnecting the battery will help prevent sparks from occurring and will also protect the delicate electronics from damage.
You’ll want to disconnect the battery by removing the black clip from the red wires.
Once the clip is removed, you can then remove the red wire from the battery.
Be sure to place the red wire somewhere safe where it won’t come into contact with any other metal pieces.
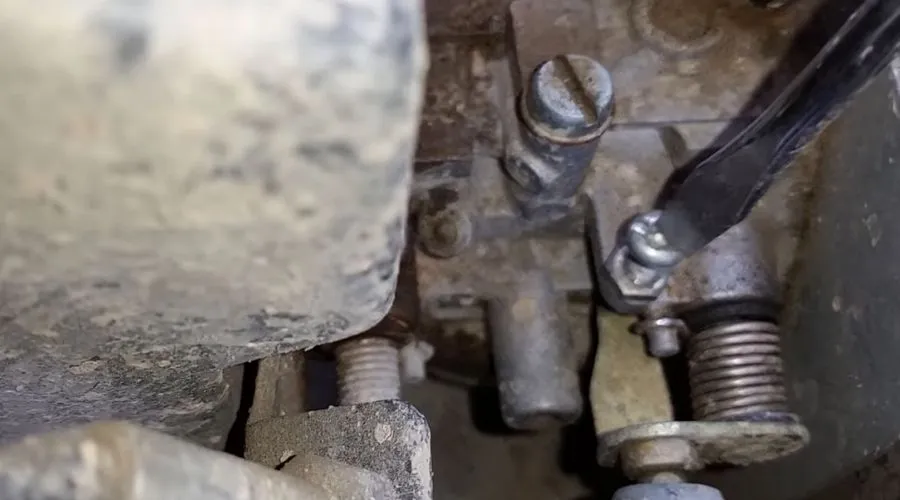
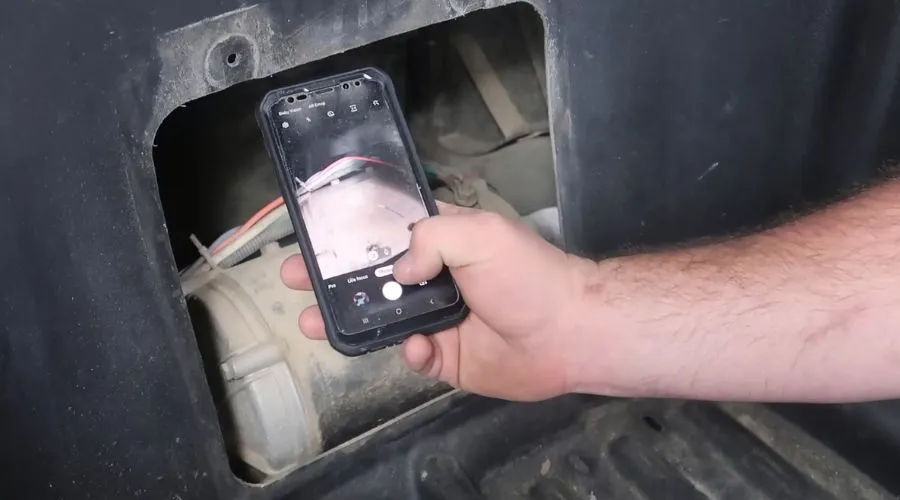
Locate the Speed Limiter
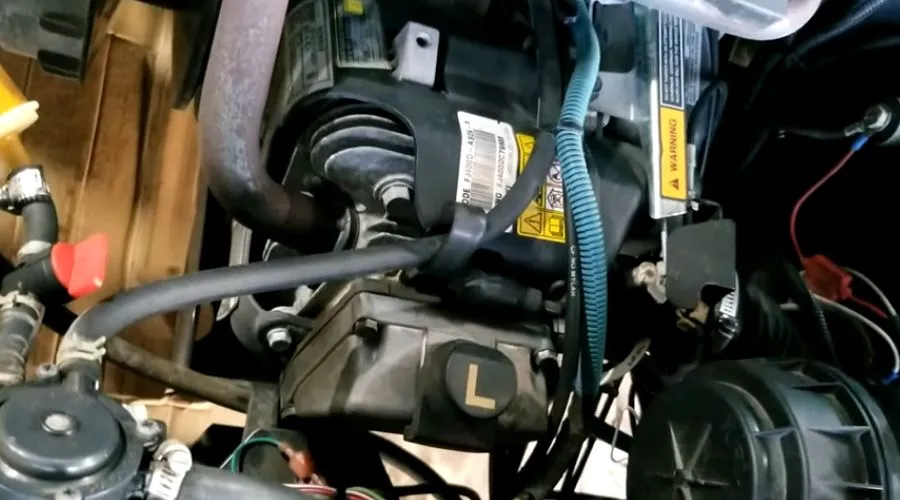
Now that you’ve disconnected the battery, it’s time to locate the speed limiter.
The speed limiter will be located somewhere near the speed control system of the cart.
It’s generally a small black box with two wires connected to it.
The speed limiter will be near the left side of the motor housing.
It could be under the seat or in the back of the cart in the battery area.
Disconnect the Speed Limiter
Once you’ve located the speed limiter, you’ll then want to disconnect the wires from the speed limiter. You can do this by either pressing down on the tabs and removing the wires, or by cutting the wires with wire cutters.
Be sure to note which wire goes to which terminal. You’ll also want to be sure to wear gloves for this part since you might come into contact with some sharp wires.
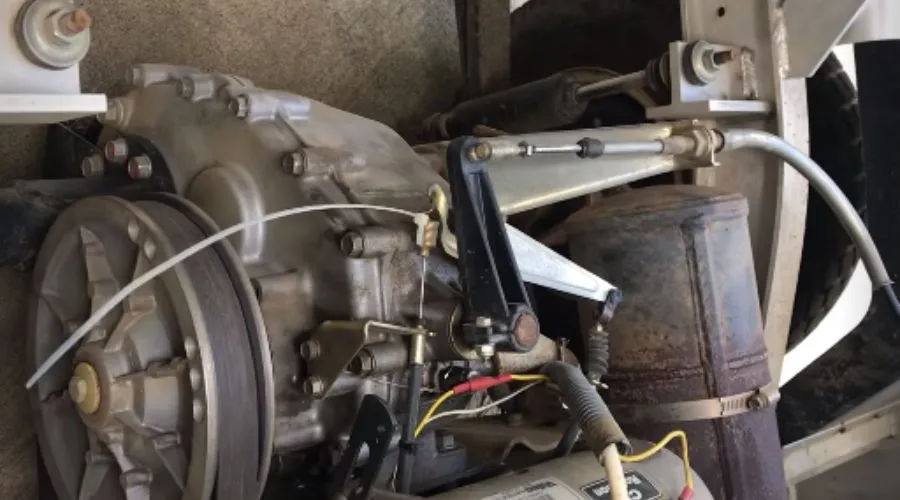
Remove the Speed Limiter
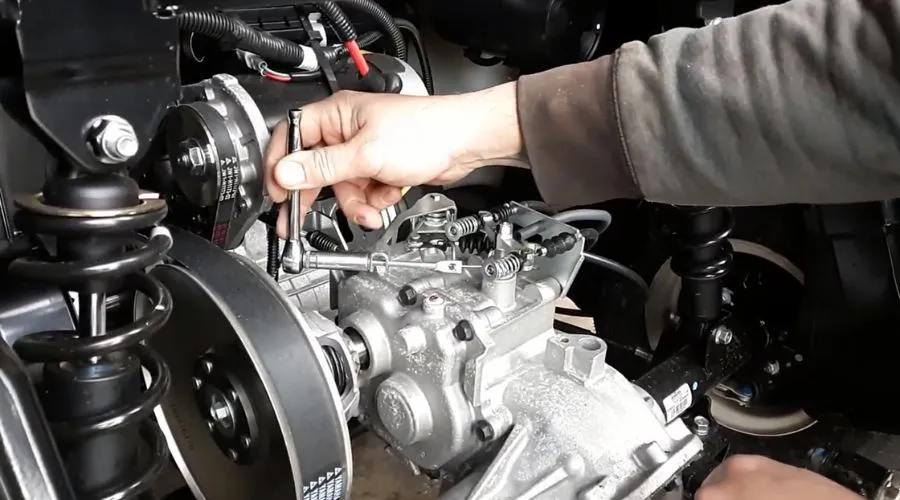
Once you’ve disconnected the wires from the speed limiter, you’ll then want to remove it from the motor housing.
To do this, you can gently use a flathead screwdriver to gently pry it off.
It should come off quite easily since it’s only held on with a small amount of pressure.
Once the speed limiter is removed, you can then discard it.
Reconnect the Battery and Test
Now that the speed limiter has been removed, you can then reinstall the battery.
Make sure that the red wire connects to the positive terminal and the black wire connects to the negative terminal.
When you reconnect the battery, it might appear as if the lights don’t come on.
Don’t worry, this is normal. The lights will come on once you start driving the golf cart.
Testing the Speed Limiter

Once you’ve reinstalled the battery, you can then test the speed limiter by pressing the throttle.
It should jump right up to the maximum speed at which the golf cart can go.
If the speed limiter isn’t working, then there may be a wiring issue.
If this happens, you’ll want to check the wires and make sure they’ve been connected properly.
Be sure to double-check the wiring to make sure no wires have come loose or been disconnected.
If the wiring is correct, then there may be a problem with the speed controller.
If this happens, you’ll want to contact an electric golf cart repair shop to have the speed controller replaced.
Safety Precautions
As with any DIY project, it’s important to take safety precautions to prevent injury.
Make sure to wear protective gear, such as gloves and goggles, when working on your golf cart.
When you’re disconnecting and reconnecting the battery, make sure to keep it away from the cart.
You don’t want the cart to roll and kick the battery and cause it to discharge.
If you follow these instructions, you’ll be able to remove the speed limiter from your electric golf cart in no time.
This simple step-by-step process will walk you through removing the speed limiter, so you can drive your cart faster than ever before.
Now that you know how to remove the speed limiter, it’s time to get out there and enjoy your ride.
Conclusion
Now, that you’ve finished reading this guide on how to remove the speed limiter on your electric golf cart, you’ll be ready to get started with the removal process.
Removing the speed limiter is a quick and easy process that can be done with a few basic tools in just a few minutes.
With these instructions, you’ll be able to remove the speed limiter and get your golf cart moving faster in no time.
So, if you’re ready to get started, be sure to read through this guide one more time to make sure you understand each step, and then get to work removing the speed limiter on your golf cart.
FAQs
Why Do You Need to Remove the Speed Limit on Your Electric Golf Cart?
Removing the speed limit on your electric golf cart is an important step to ensure you get the most out of your vehicle. Without the speed limit, you can enjoy faster acceleration and a smoother ride over longer distances. Additionally, removing the speed limit allows you to reach higher speeds when traveling down hills or on flatter terrain. Removing the speed limit can also be beneficial in maximizing your battery life and making sure you get the most out of each charge. With the speed limit removed, you can enjoy longer trips and more time on the course. Finally, removing the speed limit allows you to customize your golf cart’s performance to better suit your individual needs.
What Happens if You Break the Speed Limit on Your Electric Golf Cart?
Breaking the speed limit on an electric golf cart can be a dangerous decision. If you accelerate too quickly, your electric golf cart may lose control and cause a crash or other damage. Additionally, it is illegal in most jurisdictions to exceed the posted speed limit for electric golf carts. Doing so could result in fines or penalties that could cost more than the value of your cart.
In most cases, it is also not a good idea to tamper with the speed limiter on your golf cart, as this can cause damage to components like the controller and other electrical parts. Additionally, altering the speed limiter can void any applicable warranties and significantly reduce the performance of your electric golf cart. If you want your cart to go faster, it is best to purchase a higher-end model that comes with an increased speed limit.
Is It Safe to Remove Speed Limiter on Electric Golf Cart?
The short answer to this question is no, it is not safe to remove the speed limiter on an electric golf cart. The speed limiters installed in electric golf carts are there for a reason: to keep drivers and passengers from engaging in unsafe speeds when operating the cart. It is important to remember that while the top speed of an electric golf cart may not seem particularly fast, the danger is in the potential for an abrupt stop or acceleration, which can be more dangerous than a faster speed.
Furthermore, removing a speed limiter may void any warranty associated with your electric golf cart. Additionally, you could face legal repercussions if caught operating an electric golf cart without its speed limiter.