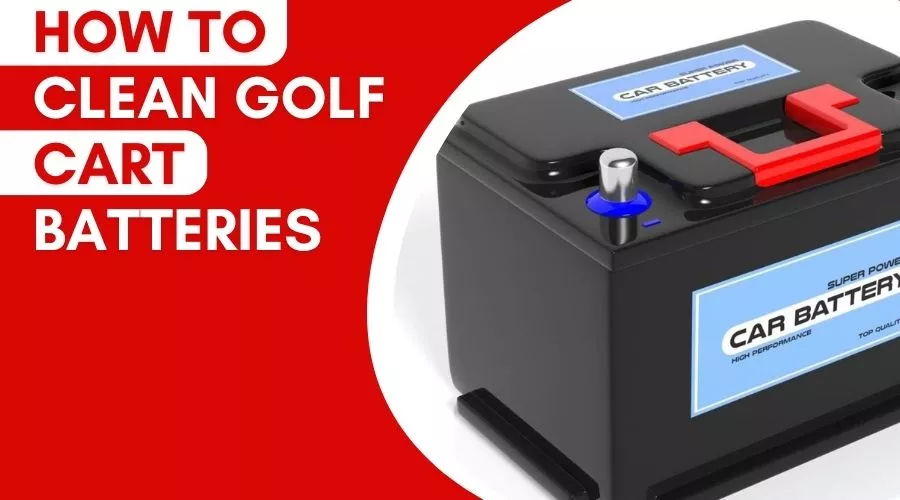
How To Clean Golf Cart Batteries – Step-By-Step Guide
You’ll find them in nearly every golf course: golf carts. These vehicles make it easier for avid golfers to get around the green, giving them more time to practice their swing and spend less time walking.
Cleaning your golf cart might not be your first priority when the snow and ice have melted away, but getting yours ready for another season has its own rewards.
A clean golf cart is safer and will last longer. It also looks better, which means you’ll probably receive a few bonus points when you bring it back to the clubhouse after renting it again next season.
Follow these eight simple steps to clean your golf cart batteries so they’re ready for another year of green grass and sunshine.
How To Clean Golf Cart Batteries – Step By Step Video Tutorial
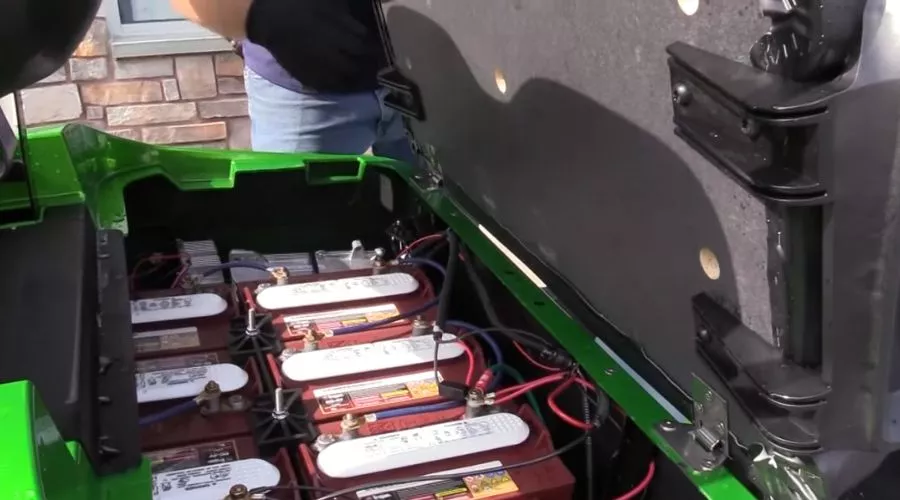
Remove The Battery Cover
This is probably the easiest step of all. All you need to do is remove the battery cover by unscrewing it or popping it off with a lever or button.
Disconnect The Battery Cables
Once the cover is off, you should be able to see the battery cables. Disconnect them by unscrewing them or pulling them out of their sockets.
Be careful not to touch the metal parts of either cable when they are still connected to the batteries – they may have a lot of voltage stored in them!
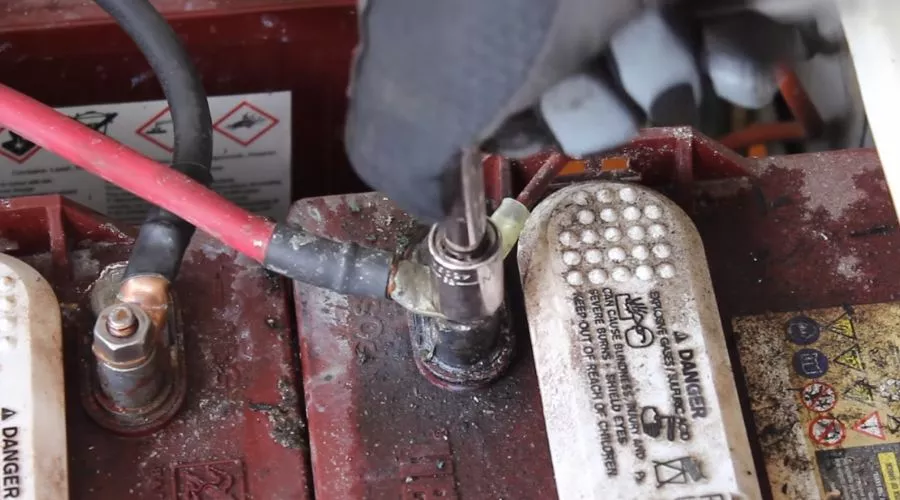
Check The Battery Cables
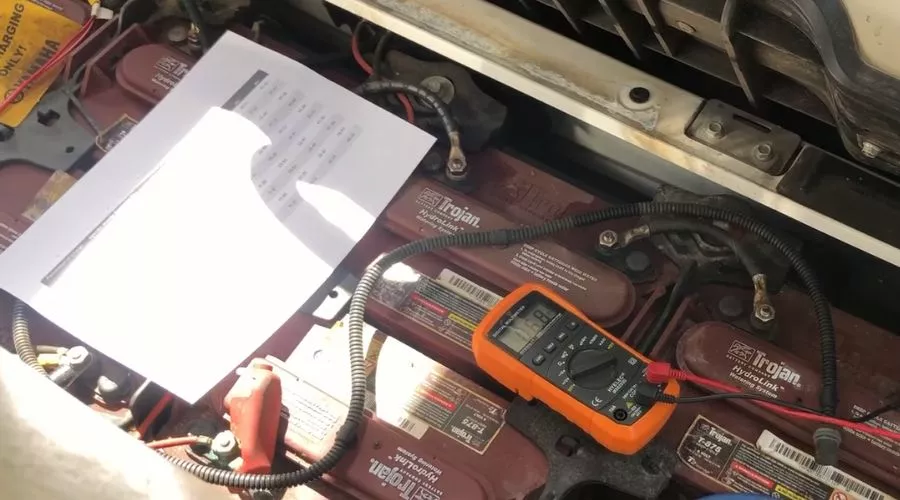
If you find any corrosion or corrosion damage on your battery cables, it’s time to replace them before you begin the cleaning process. Corroded wires can lead to short circuits and dead batteries, and they’ll be difficult to clean off.
A good rule of thumb is to replace your battery cables every five years. If you’ve had your golf cart for less than five years or live in a dry climate, it’s likely that your cables are in good condition and can be cleaned instead of replaced.
To clean the cables, you can use a brush and battery cleaner to get rid of any corrosion. Once the cables are clean, you should apply heavy-duty grease to them to prevent corrosion from coming back.
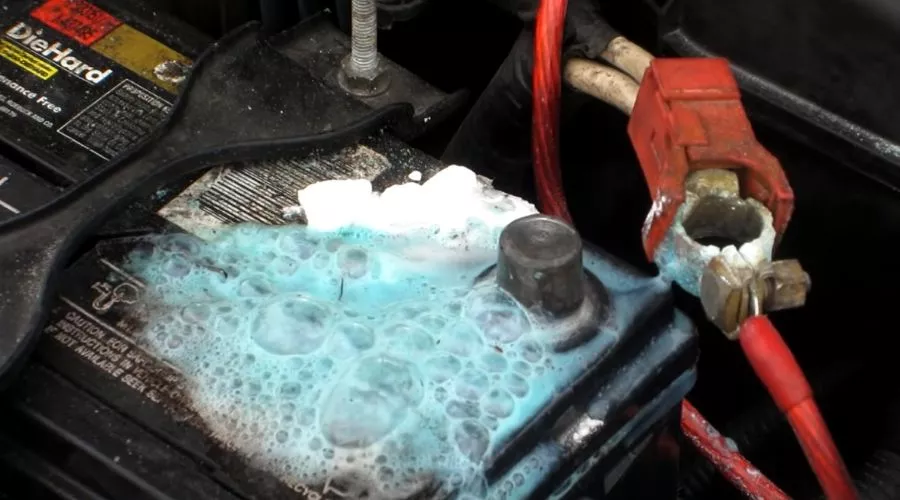
Pour Baking Soda And Water Mixture Over The Batteries

Baking soda is great for cleaning because it’s alkaline and therefore can neutralize acid corrosion on metals. In this step, we’ll be using it to clean the battery terminals.
Mix a solution of baking soda and water, using four tablespoons of baking soda per gallon of water. Then, pour this mixture over the top of the batteries. Leave it on for several minutes so that it can start to neutralize any corrosion that may be present.
Use A Brush To Scrub The Baking Soda Mixture Into The Battery Terminals
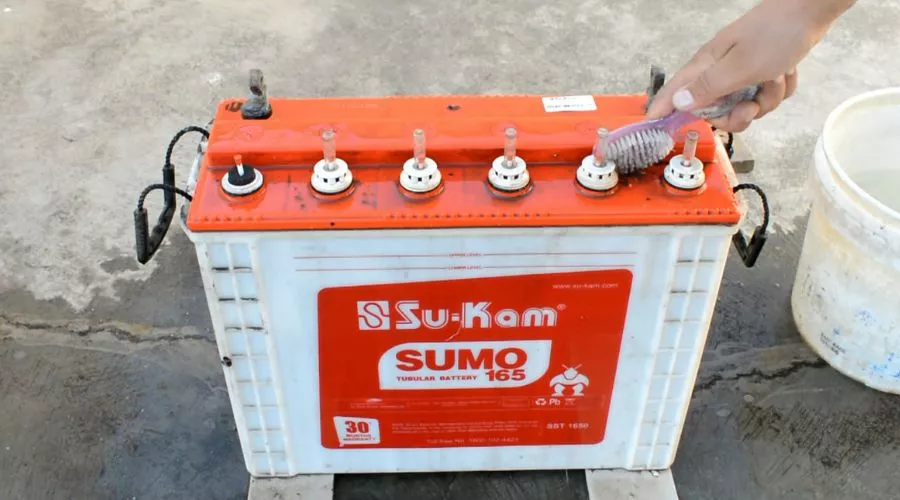
Using an old toothbrush (or something similar), gently scrub the baking soda mixture into all of the exposed parts of the battery terminals.
This will help further neutralize any acid corrosion on them and make them look like new again!
Rinse Off The Batteries And Cables With Water
After you’ve given everything a good scrubbing, rinse the entire area with plenty of water. Rinse everything with the hose on a low setting.
This will help to get rid of any remaining residue from the baking soda mixture. Then let it dry naturally.
Reconnect The Battery Cables And Replace The Battery Cover
Finally, reconnect the battery cables and replace the battery cover. Make sure all connections are secure before you move on to other tasks.
Spray Battery Terminal Protector
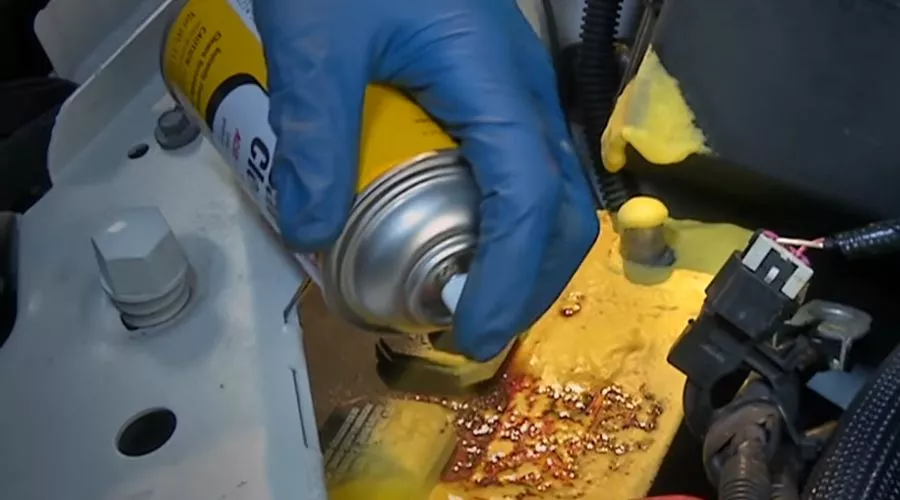
Finally, you should shield your battery from additional deterioration.
Simply spray some Battery Terminal Protector into your clean battery terminals to reduce long-term corrosion and keep your batteries working at peak performance.
By following these steps, you should be able to effectively clean your golf cart batteries and keep them in good condition for years to come!
Conclusion
Cleaning your golf cart before the season starts is a good way to get some use out of it during the off-season.
It’s also a great time to clean up your equipment and make repairs that might have been neglected during the busy season.
Having a clean golf cart is the first step to a great season. It will look better, smell better, and perform better. Follow these steps to clean your golf cart and get it ready for spring.
FAQs
What can I use to clean golf cart batteries?
Baking soda is a great choice for cleaning golf cart batteries. When mixed with water, it can help neutralize any acid corroded on the battery terminals. You should also be sure to use an old toothbrush or something similar in order to scrub the baking soda mixture into all of the exposed parts of the battery terminals. Additionally, you may want to invest in a specialized cleaner designed specifically for golf cart batteries if you need more powerful cleaning agents.
Can you spray off golf cart batteries?
Yes, you can spray off golf cart batteries with a hose or pressure washer. This is a great way to quickly remove any dirt and debris that may be caked on the terminals. However, be careful not to use too much pressure when spraying – otherwise, you risk damaging the delicate internal components of your battery.
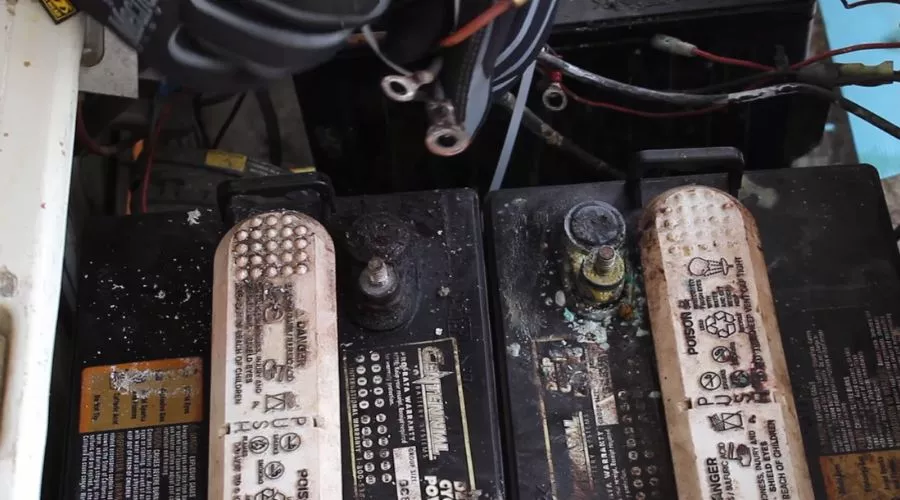
Why do my golf cart batteries keep corroding?
Your golf cart batteries may be corroding due to a buildup of acid. This is generally caused by a combination of environmental factors such as extreme temperatures, humidity, and how often you use your cart. In order to reduce corrosion, make sure you keep the battery terminals clean by regularly scrubbing them down with a baking soda and water mixture. Additionally, if possible, try to store your golf cart in an area that is protected from the elements or invest in a weatherproof cover for additional protection. Finally, it’s also important to check your battery’s electrolyte levels at least once a month and add distilled water as needed.
What precautions should I take when cleaning golf cart batteries?
When cleaning golf cart batteries, it’s important to take safety precautions in order to protect yourself and the battery. First, make sure you disconnect any cables connected to the battery prior to cleaning. Also, use protective eyewear and gloves when handling cleaners or scrubbing down the terminals – this will help prevent any acid from splashing into your eyes or onto your skin. Additionally, be sure not to use water that is too hot as this can cause damage to the internal components of the battery.